
 |
| Nikon D4, 28-300mm [85mm], ISO 800, ƒ/8, 1/400 |
Keep the camera as still as possible. If you can shoot with a tripod, all the better. If you can shoot with a monopod. The point it one the biggest reason most people's photos are not sharp is camera movement.
Shutter Speed and Focal Length work together
If you are not paying attention to which lens you have on your camera and how this affects your shutter speed, then your photos may not be as sharp as they can be. The rule of thumb is turn your lens into a fraction and use that to set your shutter speed. Put 1 over the focal length and then use the shutter speed closest to that as the slowest shutter speed for hand holding the camera.
A 200mm lens should give you 1/200 shutter speed. A 50mm should be held no slower than 1/50. If you do not have 1/200 and the closest shutter speed is 1/250 use this, don't go under to 1/125.
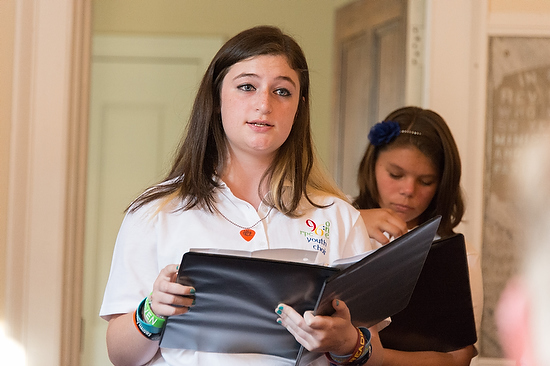
 |
| Nikon D4, Sigma 120-300mm ƒ/2.8 with Sigma 1.4 converter, ISO 900, ƒ/5.6, 1/2000 |
Photographing a building verses a race car is a big difference. You can have a shutter speed that lasts for hours and not affect the sharpness of a photo, but the stopping of a bullet in flight might require 1/10,000 to freeze the action.
I had always heard 1/500 to stop action. From my personal experience I have found that the razor sharp photos of sports tends to be about 1/2000 for me.
Aperture
The depth-of-field you choose can make a photo appear out of focus even if it is in focus. For example when you shoot at ƒ/2 and the subject is 15 inches from the lens the area that is sharp in front and behind the point you are focusing is most likely less than an inch. However, move that subject to 15 feet and your depth of field may now be a foot or more.
Find the balance between ƒ/16 keeping everything in focus and wide open ƒ/2.8 with great Bokeh throwing the background out of focus. Often I find myself shooting ƒ/4 on a Nikon 400mm ƒ/2.8 to get more usable images.
Focus Miss
On many cameras today you can have multiple focus points. My Nikon D4 has 51 different points for focusing.
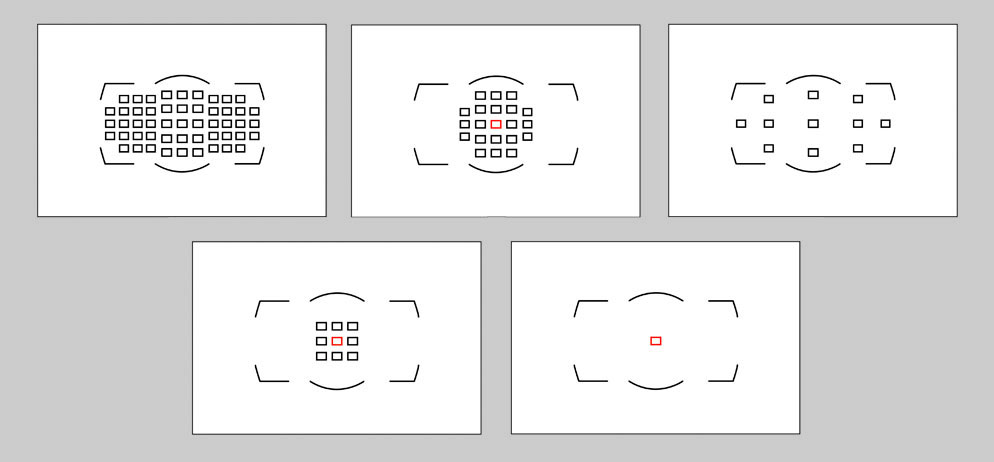
Depending on the focus mode I pick it is either easier to focus or more difficult. The point is many times people don't tell the camera where to focus. When doing portraits I try to use the eyes as my focus. If they are turned slightly to the camera one eye is closer than the other and I always try and get the closest eye in focus. This is when I may change my aperture to be sure they are both in focus.
With Nikon Capture software I can check later where I was focusing and see if I missed my focus. After using this to help me I was realizing I was missing focus more often due to me and not the camera's capability.
Post Processing
I use either PhotoShop unsharp mask or Lightroom to sharpen the image for how it is being used. Most all images could use just a little sharpening. If you over do the sharpening it will not look good. A little will give it a bit of a sharpness "kick". Use a small radius (perhaps a pixel or less) and a large amount.
Most all my photos are not process with sharpening until I export out of Lightroom.

If I am posting the photos to the web then I choose the setting here when I export of Screen and standard.
You have other choices you can choose when you export of paper quality as well influencing your choice.
2 comments:
sparpen your photos in camera settings
Only works with JPEGs. Always best to sharpen last for the output you are going to. Sharpening earlier can work against you.
Post a Comment