 |
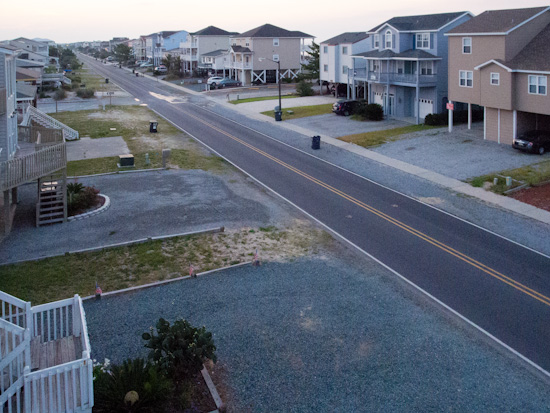
| Shooting this on vacation at Ocean Isle, NC. This is the final after correcting for color, exposure, and perspective. |
While on vacation I shot this image off our balcony. Well it didn't look like this when I shot it. It looked like this out of the camera see Figure 2.
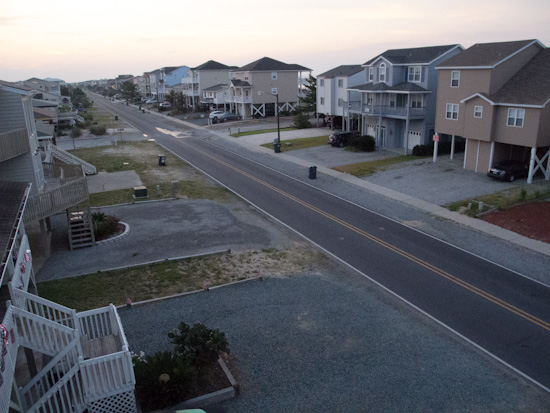 |
| Can you see how the buildings are not straight and level as in the top photo? (Figure 2) |
Here are the steps I took
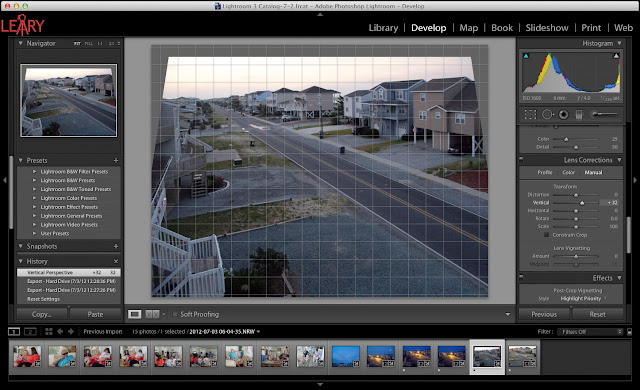 |
| In Develop Module of Lightroom 4.1 I went down the to Lens Correction and clicked on Manual Tab. Then I adjusted the Vertical and Rotated the image. |
After getting the buildings perspective correct by using the grid to help me, I then click on the Profile tab. I check the box and this is really cool. Each camera lens has some distortion and using the database built into Lightroom 4.1 it corrects for barrel distortion, chromatic aberration and other things inherently distorted with my Nikon P7000.
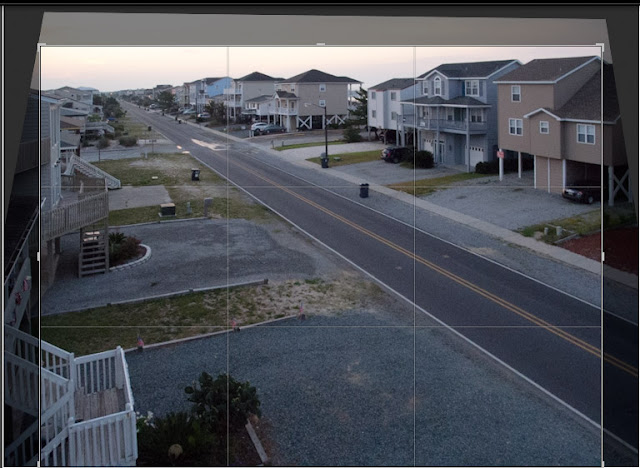 |
| Now I crop |
As you can see the photo now has some black areas that were not in the photo due to correcting perspective. I just select ⌘R (for cropping) and also lock the size of the image to the original and crop.
Now the photo needs some changes in contrast, exposure, color and more which I correct using the Basic menu in the Develop Module.
I often will choose the Auto setting in Tone to see what it gives me. Sometimes I like it and other times I will ⌘Z (undo) and start over. Sometimes I will just tweak the photo after using Auto.
Try correcting some of your photos using this technique.


No comments:
Post a Comment