 |
| Step 1 Ingest |
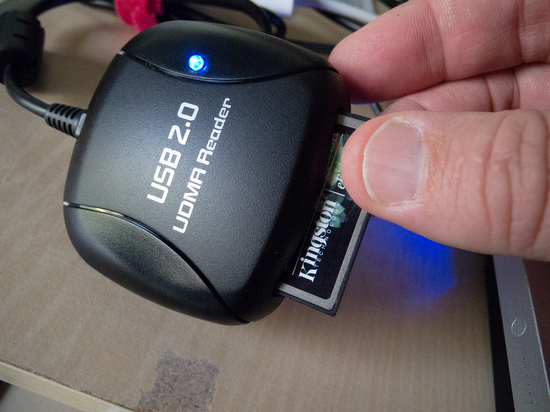
Step 1 - I ingest the images from my Compact Flash Card or SD Cards. My settings for the camera are RAW and I normally use the ExpoDisc to get custom white balance. I shoot in ADOBE RGB color space as well. All the settings give me images that are the best possible for editing. Color is almost perfect because of the custom white balance and can be modified easily since they are in RAW format.
 |
| Step 2 Use PhotoMechnic for ingesting software |
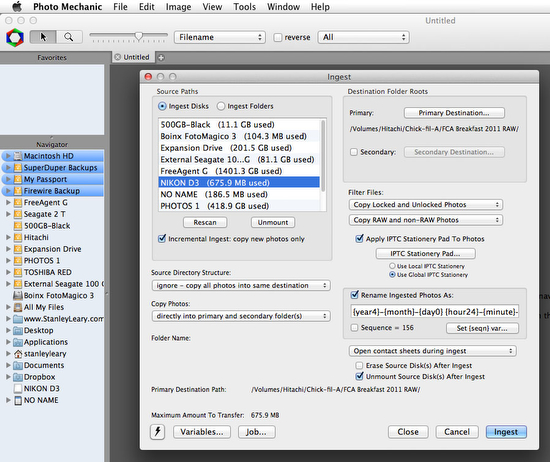
Step 2 - Ingest using the software
PhotoMechanic. I select the card and then I select the destination for all the images. I use
+ RAW
 |
| Step 3 - the destination is an external hard drive |
Step 3 - External Hard Drive is chosen so that the wear and tear is not so great on my main hard drive of the computer. If you shoot as many images as I do you will burn out a hard drive quickly if you use it all the time.
 |
| Step 4 - IPTC Information added |
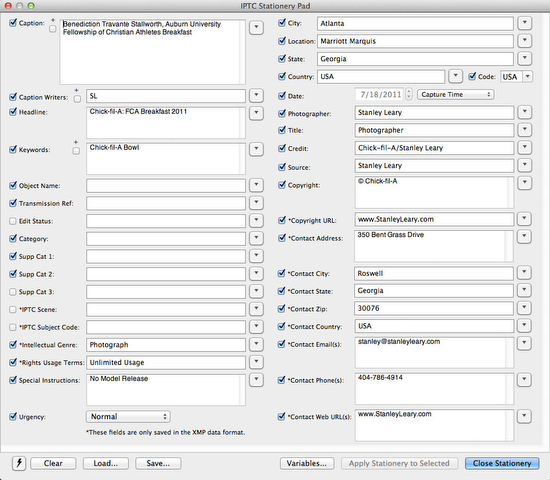
Step 4 - Add IPTC information that will go onto every photo from the photo shoot. Adding the bulk metadata to the caption and keywords as well as embedding credit, copyright and contact information. I also add information about the location of where the photos were taken.
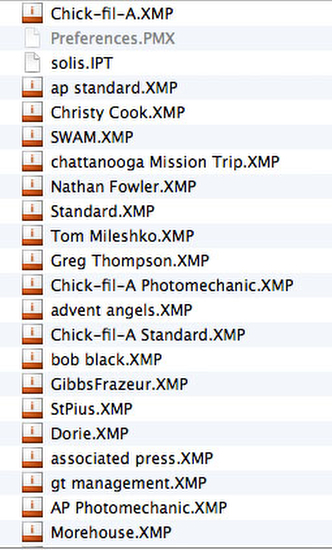 |
| Step 4 The IPTC information I have saved and tend to load one of the templates saved so I do not have to put in the basic information each and every time for a client. I have templates for clients like Associated Press, and my personal use as well. I just load the template and make minor changes. |
 |
| Step 5 I cull the images down |
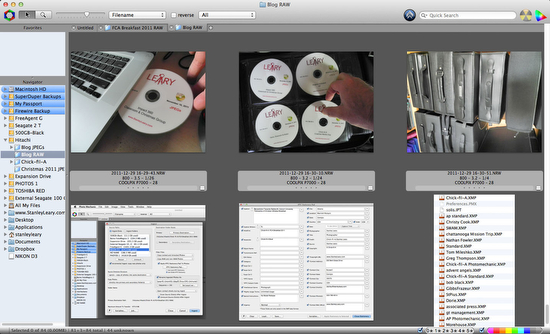
Step 5 - Culling the images so that I am only keeping the best images or usable images.
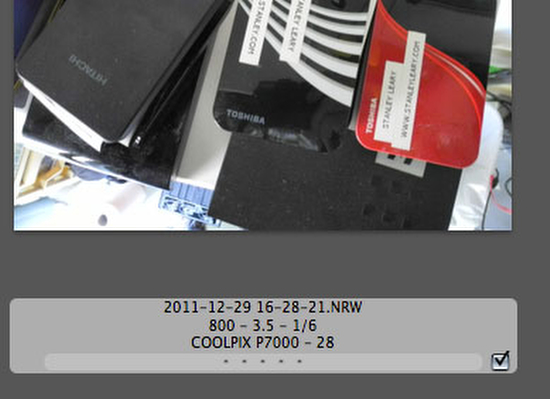 |
| Step 5 I check the select button for those I want to keep |
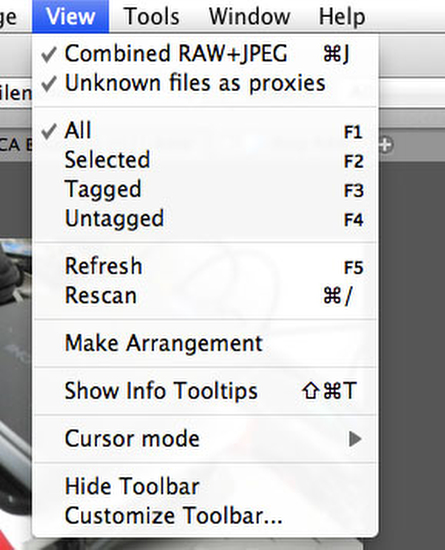 |
| Step 6 - select the Untagged Images |
Step 6 I go to View and then select seeing only the untagged images and then delete all of them. Just keeping the tagged images.
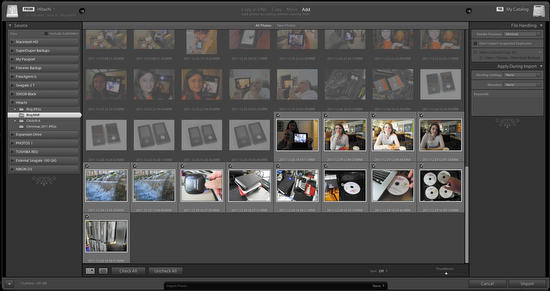 |
| Step 7 Open Lightroom and import from the folder of selected images I created using PhotoMechanic |
Step 7 Open Lightroom and import the selected images from Photomechanic. I am just adding these to Lightroom and not copying them.
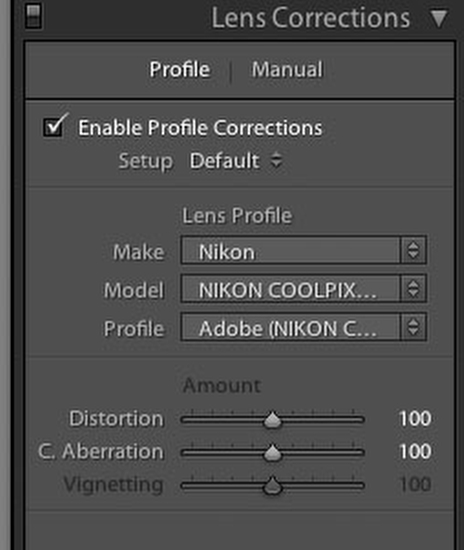 |
| Step 8 - Select all images and in Develop Module I then enable Profile Corrections |
Step 8 Enable Profile Corrections for lenses. This will correct all the aberrations and imperfections known for each lens that I own and therefore giving me the best quality possible.
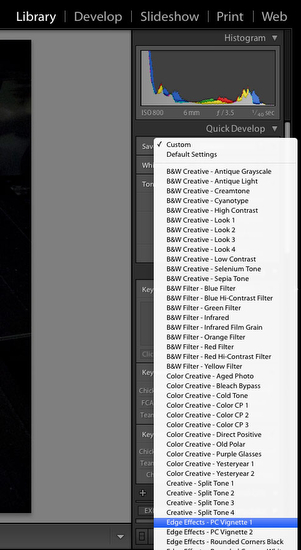 |
| Step 9 - I sometimes will add a vignette to the images. |
Step 9 I like to darken the edges ever so slightly and heavy depending on the situation. I will select all images and add a PC Vignette 1 for slight or PC Vignette 2 for a heavy use like for a formal portrait. These are found in the Library Module under Custom.
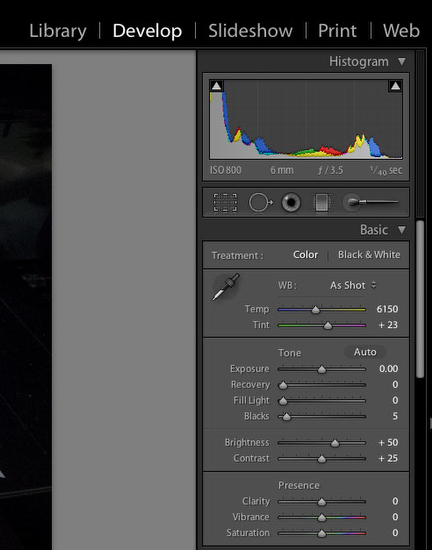 |
| Step 10 - Adjust image |
Step 10 - I adjust the image or images. I will select a group if they are all similar and this way save on time in the editing. This has a few parts to this:
- Hold down "Option Key" while sliding the exposure. You will see the highlights. I try and have no white areas on faces for example. Play with this to get your desired result.
- Hold down the "Option Key" and slide the Blacks. Only if there are black areas do I try and be sure there is a black
- Adjust then the Fill Light to open up the shadows.
- I will sometimes use the Recovery to bring in some highlights that might not be recovered when I did the main exposure. Again play with this for desired result
- I then usually add some saturation by using the Vibrance slider. Usually no more than 35. It will affect everything but people. That to me is really cool, because I don't like to make the people red for example.
- I may do other fine tuning beyond, but these 5 steps are pretty much used every time.
 |
| Step 11 Exporting |
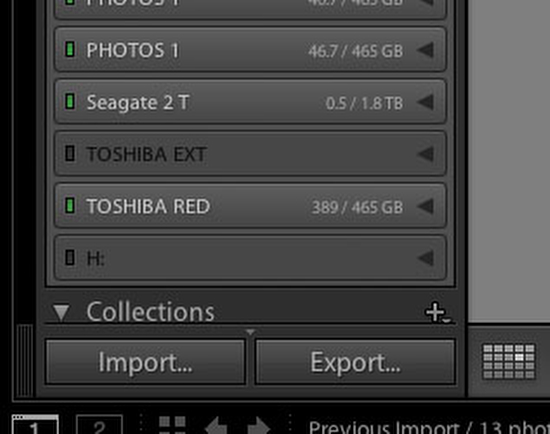
Step 11 Exporting. Go to the Library module and in the lower left click export.
 |
| Step 12 Exporting choices |
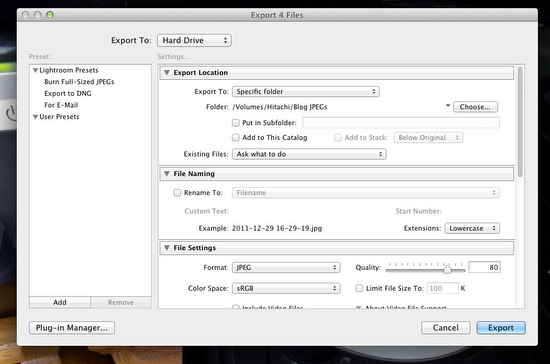
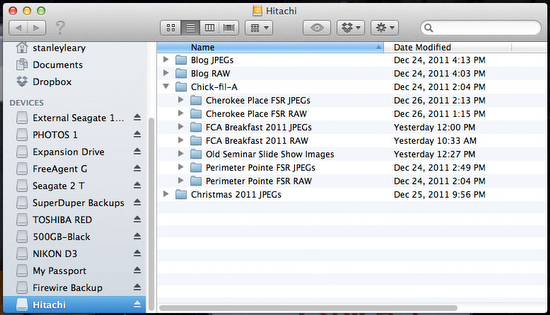
Step 12 Select a folder to export. I use
+ JPEGs. I select sRGB as a standard since it is more usable for more situations. I set quality to 80.
 |
| Step 12 I keep images all the same size |
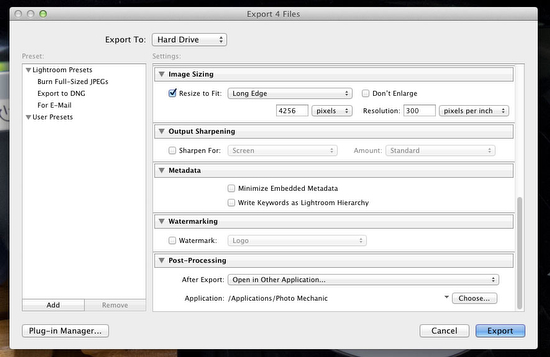
Very important not to check the "minimize Embedded Metadata" because this will remove all the camera data which many database software programs use to help narrow down the search by date and time that a photo was taken.
 |
| Step 13 Making of DVD/CD. I will drag the folders from here to the Disco Software. |
Step 13 Making of a DVD I use the software Disco for the Mac to burn my DVDs and CDs. The reason is this will let me take very large shoots that need multiple DVDs and spread the project for me over a number of discs.
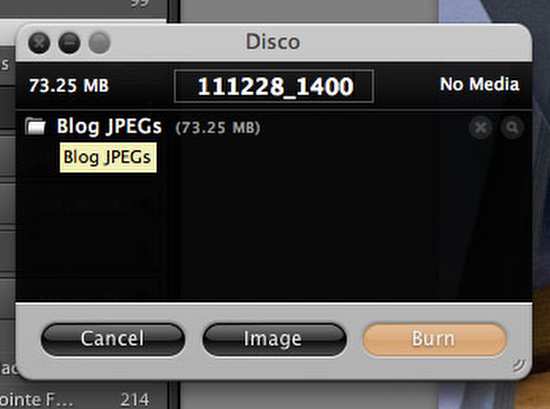 |
| I name the Disc by year, month, day and time that I burn the disc |
Step 14 Print on the Disc using Disc Cover 3
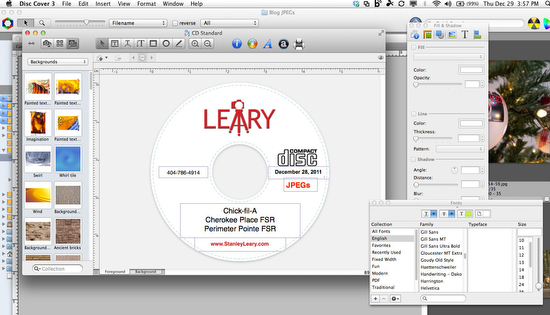 |
| This helps with branding and looking professional for the client. |
|
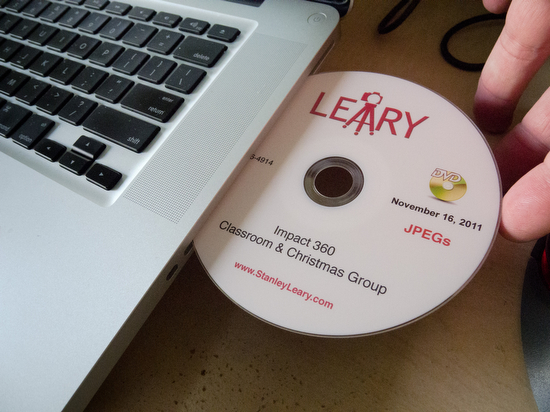
Step 15 Print using the Epson Photo Stylus R280 Printer
 | |
| Printing on the DVD with Epson Photo Stylus R280 |
Step 16 Ingesting into
Cumulus
 |
| Ingesting into Cumulus from DVD |
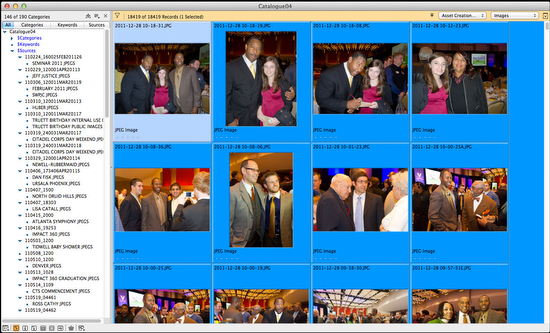 |
| Cumulus lets me search all the images. I am searching all that text I put into the metadata earlier. I can search and narrow down my search using Boolean searching technique. |
Cumulus helps me later find images using the text search. Once it finds images I can see the thumbnail and it tells me which DVD it is stored.
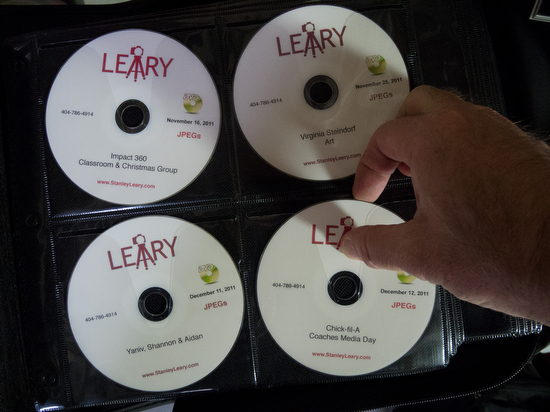 |
| Disc is put into a binder in chronological order. |
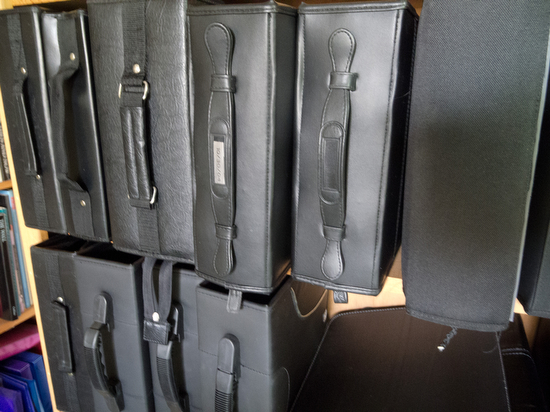 |
| Binder is put onto the shelf |
Summary
I now have a way to find all the images and have it in two places minimally. On the hard drive and on a DVD. I normally also upload these and/or give a Disc to the client. This makes for the third copy. Later I will copy the files from the hard drive to another hard drive giving me in essence 4 copies.
I hope this helps you see my digital workflow.


1 comment:
Did you switch to a Mac? What's next, Canon? Just kidding, great post!
Post a Comment